

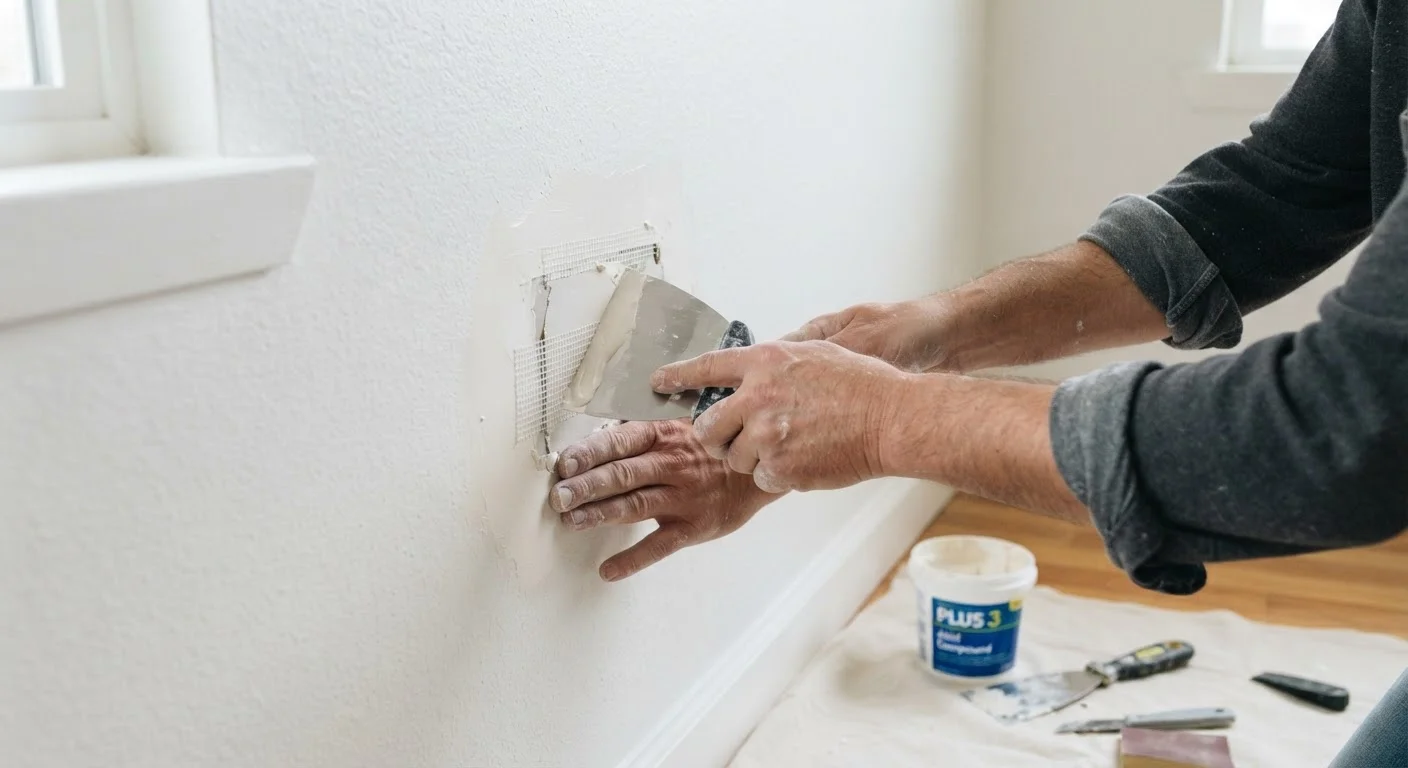
What You Need Before You Start
Patching drywall is one of the most approachable home repairs a family can tackle - the materials are affordable, no power tools are required, and the skills transfer to future projects. Before you begin, gather everything listed below so you are not hunting for supplies mid-repair.
What you will need
Self-adhesive mesh patch or drywall patch kit
Provides a rigid backing and bridging material for holes between 1 and 6 inches.
All-purpose joint compound (pre-mixed)
Fills and smooths the patched area in successive thin coats.
6-inch and 10-inch drywall knives (putty knives)
Used to apply and feather joint compound across the repair area.
120-grit and 220-grit sandpaper or sanding sponge
Smooths each dried compound coat and prepares the surface for paint.
Primer (drywall or PVA primer)
Seals the repaired area so paint absorbs evenly and the patch does not show through.
Spackle or lightweight spackling compound
For nail holes and very small dents - faster-drying alternative to full joint compound.
Dust mask and safety glasses
Protect against fine drywall dust during sanding.
Keep in mind that this guide covers cosmetic repairs only. If your wall shows water stains, soft spots, or mold, the underlying cause must be addressed first - patching over active damage will not hold. For related maintenance tasks in wet areas, see our guide on keeping wet areas watertight.
Larger or Structural Damage Needs a Pro
This guide covers cosmetic holes up to approximately 6 inches in diameter. If the damage is larger, involves a full stud bay, shows signs of mold or water staining, or is near an electrical panel or load-bearing area, stop and consult a licensed contractor. Attempting to cover up water damage without addressing the source can lead to mold growth and far costlier repairs down the road.
Step-by-Step Patch Instructions
Work through these steps in order. Rushing the drying stages between coats is the single most common reason a patch remains visible after painting - patience here pays off in a wall that looks untouched.
Check for Wiring and Plumbing First
Before cutting into any wall - even for a repair - confirm there are no electrical wires, plumbing pipes, or ductwork running behind that section of drywall. Use an inexpensive stud finder with AC detection, or consult your home's as-built plans if available. Cutting through a live wire is a serious safety hazard. If you are uncertain what is behind the wall, consult a licensed electrician or plumber before proceeding.
Assess the hole and choose the right repair method
Nail holes and dents under ¼ inch can be filled directly with lightweight spackle and a finger or small putty knife. Holes between roughly ½ inch and 6 inches need a self-adhesive mesh patch or a California patch (cut from scrap drywall) to provide a rigid backing. Measure the hole at its widest point before reaching for materials.
Clean and prepare the surface
Remove any loose debris, dust, or peeling paint from around the hole. Wipe the area with a lightly damp cloth and allow it to dry completely. If old texture is flaking near the edges, scrape it back until you reach a firm surface. Good adhesion starts with a clean, stable substrate.
Apply the mesh patch or backing
For holes requiring a patch, center a self-adhesive mesh patch over the opening and press firmly so all edges adhere to the wall. For larger holes (4-6 inches), a drywall patch kit with a built-in metal backer plate provides additional rigidity. The mesh or backer creates a bridge so the compound has something solid to grip.
Apply the first coat of joint compound
Using a 6-inch drywall knife, spread a thin layer of all-purpose joint compound over the mesh patch, working it into the mesh openings and feathering the edges outward. This first coat does not need to be perfect - its job is to embed the mesh and fill the void. Keep the layer as thin as possible to reduce shrinkage cracking. Allow to dry completely (typically 4-8 hours, or until the compound turns uniformly white).
Sand, then apply a second and third coat
Once the first coat is fully dry, sand lightly with 120-grit sandpaper to knock down any ridges, then wipe away dust with a dry cloth. Apply a second, slightly wider coat with a 10-inch knife, feathering the edges an additional 3-4 inches beyond the first coat. Allow to dry, sand again, then apply a final thin finish coat if needed. The goal is a surface you cannot feel with your fingertips when you run them across the wall.
Prime and texture the patch
After a final light sanding with 220-grit paper, apply a coat of drywall or PVA primer to the repaired area. Priming seals the porous compound so it does not absorb paint differently from the surrounding wall. Once the primer is dry, apply any texture needed to match the existing wall - a stipple with a damp sponge, a light orange-peel spray, or a skip-trowel technique - before painting.
Paint to blend
Apply at least two coats of matching paint using the same application method (roller nap and brand) as the rest of the wall. For the most seamless result, paint the entire wall panel from corner to corner rather than spot-painting only the patch. Even a perfect repair can be visible if the sheen or texture of the surrounding paint does not match.
Feather Your Edges for an Invisible Repair
The secret to a patch that disappears under paint is feathering - gradually thinning the compound out 6 to 8 inches beyond the patch edge with each successive coat. Each coat should be slightly wider than the last. Rushing this step or applying compound too thickly is what creates a noticeable hump on the finished wall.
Getting a Finish That Blends In
The difference between an obvious patch and an invisible one almost always comes down to texture matching and primer. Flat walls are the easiest to repair. Walls with orange-peel or knockdown texture require an extra step: recreating that texture on the compound before painting. Practice the texture technique on a scrap piece of cardboard first to dial in the pattern before applying it to the wall.
If color matching proves difficult - particularly on walls painted years ago - consider repainting the full wall from corner to corner. Paint fades slightly over time, and even an exact color match can look slightly off against aged surrounding paint. This is a realistic limitation worth knowing upfront. For a broader look at when DIY repairs are genuinely cost-effective versus when professional help pays off, the article on the hidden costs of DIY home improvement offers a useful framework.
With the right preparation, most families find that a drywall patch completed over a weekend is indistinguishable from the original wall - and the confidence built doing one repair makes the next one even easier.
The content provided on our blog site traverses numerous categories, offering readers valuable and practical information. Readers can use the editorial team’s research and data to gain more insights into their topics of interest. However, they are requested not to treat the articles as conclusive. The website team cannot be held responsible for differences in data or inaccuracies found across other platforms. Please also note that the site might also miss out on various schemes and offers available that the readers may find more beneficial than the ones we cover.