

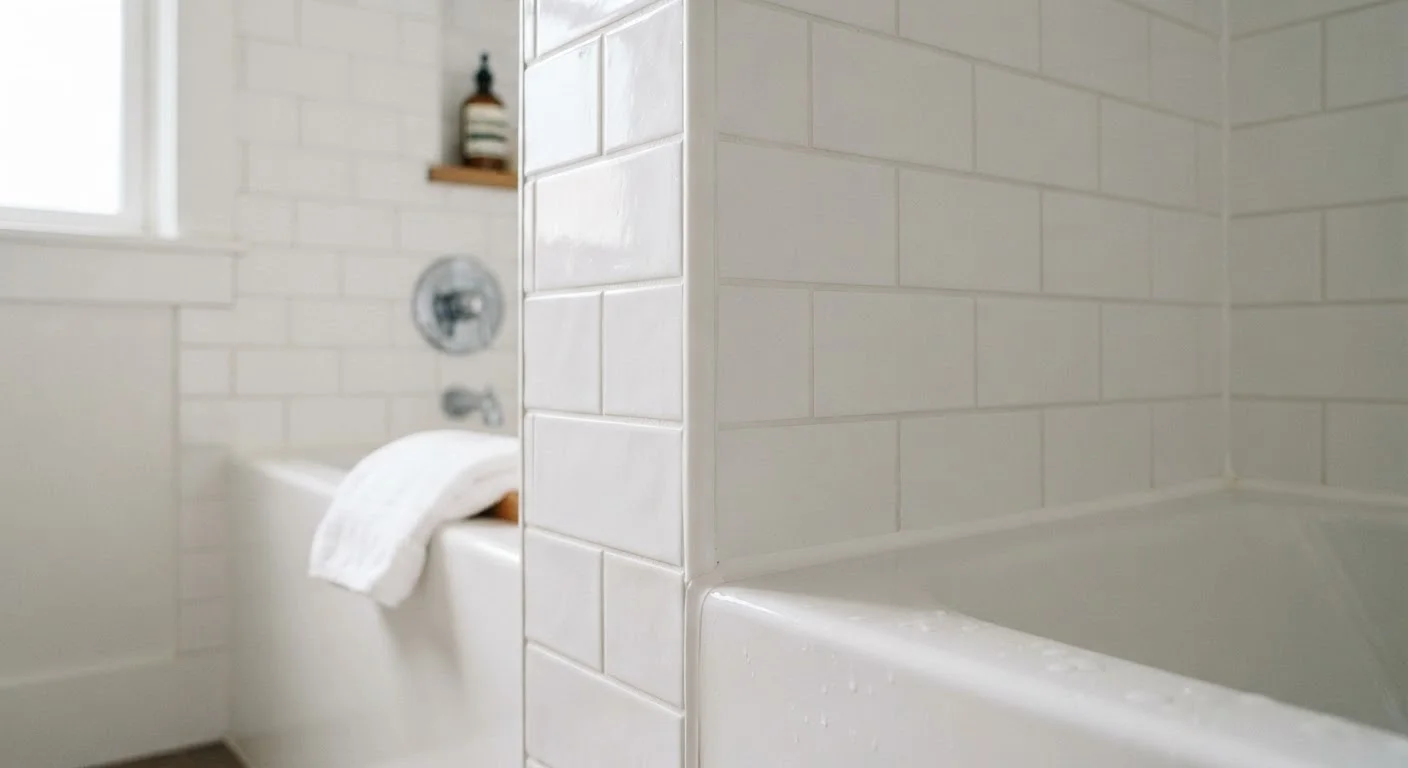
Why Wet-Area Maintenance Gets Overlooked - and Why It Matters
Shower surrounds, tub edges, and kitchen backsplashes are among the hardest-working surfaces in any home. They face daily exposure to water, heat, steam, and cleaning products. Yet most families don't think about grout and caulk until a tile cracks loose, a stain won't scrub out, or - worse - a wall feels soft behind the fixture.
Water that sneaks past failing grout or caulk doesn't stay visible. It wicks into the backer board (the moisture-resistant panel behind tile), into wood framing, and eventually into subfloors. By the time you notice discoloration, bubbling paint, or a musty smell, damage may already be significant. The good news: catching problems early is straightforward, and most repairs are well within a careful homeowner's reach.
Before picking up a caulk gun, it helps to understand exactly what each material does. For a plain-language explanation of grout types, tile materials, and sealant uses, see our bathroom tile repair reference guide.
How to Inspect Grout and Caulk Like a Pro
A thorough inspection takes less than 15 minutes and should happen at least once a year - or any time you notice a stain that won't shift or a tile that sounds hollow when tapped.
Focus your inspection on four zones: the tub or shower pan perimeter, corners where two tiled walls meet, the transition between tile and a non-tile surface (such as drywall or flooring), and the area immediately around fixtures like faucet escutcheons and drain collars. These are the spots where movement, temperature change, and water pressure converge.
Regrouting and Recaulking: What the Job Actually Involves
Once you've identified failing areas, the repair process follows a reliable sequence. Rushing surface preparation is the single most common reason DIY caulk jobs fail within months - the new material simply won't bond to a contaminated or damp surface.
Surface Prep Is Everything
Before applying any new caulk, remove the old material completely using a caulk removal tool or utility knife, then clean the surface with a mold-killing cleaner and allow it to dry for a full 24 hours. Applying new caulk over old caulk or onto a damp surface is the leading cause of early adhesion failure. Patience at this stage is what separates a repair that lasts two months from one that lasts several years.
For corners and transitions - anywhere two planes meet or where tile meets a different material - always use caulk, not grout. Grout is rigid and will crack as the structure flexes with humidity and temperature cycles. Flexible, mold-resistant caulk is the right material for these joints. For a deeper look at how caulk performs in different contexts around the home, see why caulking fails and how to make it last.
Between tiles on flat runs - field tiles and field joints - grout is the appropriate fill. Match your existing grout type (sanded for joints wider than about 1/8 inch, unsanded for narrower joints) and color as closely as possible. Hardware stores often carry grout colorants and sample packets that help you match aged grout reasonably well.
Sealing Grout: The Step Most People Skip
Cement-based grout is porous. Without a sealer, it absorbs water, soap scum, and pigment from cleaning products - which is why unprotected grout turns gray or brown over time. Applying a penetrating grout sealer (one that soaks into the grout rather than coating the surface) after any regrouting job, and then on an annual maintenance schedule, makes a measurable difference.
Up to 40%
Water damage claims linked to interior leaks
According to the Insurance Information Institute, water damage and freezing account for a significant share of homeowner insurance claims, with interior leaks - including plumbing and wet-area failures - among the most common sources.
48-72 hrs
Curing time before sealing new grout
Most cement-based grout manufacturers recommend waiting at least 48 to 72 hours after installation before applying a penetrating sealer, allowing the grout to fully cure and achieve maximum hardness.
The application process is simple: ensure the grout is fully cured (typically 48-72 hours after installation or repair), apply the sealer with a small brush or applicator bottle along each joint, allow it to penetrate for the time specified on the product label, and wipe away any excess from the tile face before it dries. Epoxy grout, if you chose that type, does not require sealing - it is inherently non-porous.
Note that sealer is a maintenance step, not a substitute for sound grout. If your grout is cracked, crumbling, or missing, seal it after repair - not instead of it.
Not All Caulk Is the Same
Wet-area caulk should be explicitly rated for kitchen and bath use and labeled as mold- and mildew-resistant. Standard paintable latex caulk - the kind used for baseboards and trim - is not formulated for continuous water exposure and will fail quickly in a shower or around a tub. Always check the product label before purchasing. For guidance on matching caulk type to specific locations throughout the home, see our caulking and weatherstripping placement guide.
When to Stop DIYing and Call a Professional
Most grout and caulk maintenance is genuinely DIY-friendly. However, certain conditions signal that professional assessment is warranted:
- Soft or springy subfloor beneath a tiled floor - this suggests water has reached the structural layer.
- Tiles that flex or tent (bow upward) - the adhesive bond to the substrate may have failed, sometimes due to extended moisture exposure.
- Persistent mold that returns within weeks of cleaning - this often means mold has colonized the material behind the tile, not just the surface.
- Active leaks into a ceiling below - any plumbing-related source needs a licensed plumber to assess before tile repair begins.
In these situations, tiling over the problem without addressing the underlying cause will not hold. A licensed tile contractor or general contractor can assess the substrate and advise whether a tear-out and rebuild is necessary. For context on knowing which home tasks fall within the safe DIY range, this guide on safe homeowner maintenance tasks offers a useful framework.
Keeping wet areas watertight is one of the most cost-effective maintenance habits a household can build. A few hours of inspection and repair each year protects thousands of dollars in tile work, cabinetry, and structural framing - and it's work most families can handle confidently with the right information.
The content provided on our blog site traverses numerous categories, offering readers valuable and practical information. Readers can use the editorial team’s research and data to gain more insights into their topics of interest. However, they are requested not to treat the articles as conclusive. The website team cannot be held responsible for differences in data or inaccuracies found across other platforms. Please also note that the site might also miss out on various schemes and offers available that the readers may find more beneficial than the ones we cover.