

Why Caulk Keeps Failing
Few DIY repairs are more frustrating than caulk that peels, cracks, or grows mold within months of application. The good news is that most caulk failures trace back to a handful of predictable mistakes - all of which are avoidable with a bit of preparation and the right materials.
Caulk serves as a flexible sealant bridging gaps between surfaces that move, expand, or contract at different rates. Bathtub surrounds, window frames, door trim, and exterior siding joints all rely on caulk to keep water and air out. When it fails, moisture can penetrate behind walls and around frames, leading to damage that's far more expensive to fix than the original gap. For a deeper look at how water infiltration affects your home's exterior systems, see our guide to gutter maintenance.
Applying new caulk directly over old caulk without removing it first.
Why it happens: Removing old caulk is tedious, and the new material seems to cover the problem visually. Many homeowners assume layering is acceptable.
Caulking over a damp or dirty surface.
Why it happens: Impatience after cleaning is common - surfaces look clean even when they hold invisible moisture, soap residue, or mold spores.
Using the wrong type of caulk for the location.
Why it happens: Caulk products look similar on the shelf, and general-purpose tubes are often grabbed without reading the label.
Leaving gaps too wide for caulk alone to bridge effectively.
Why it happens: Caulk seems like a catch-all filler, and homeowners don't realize it has structural limits.
Skipping the smoothing step and leaving a ragged or uneven bead.
Why it happens: Tooling the bead feels unnecessary once the gap appears covered, and some DIYers are unsure how to do it without making a mess.
Getting the Application Right
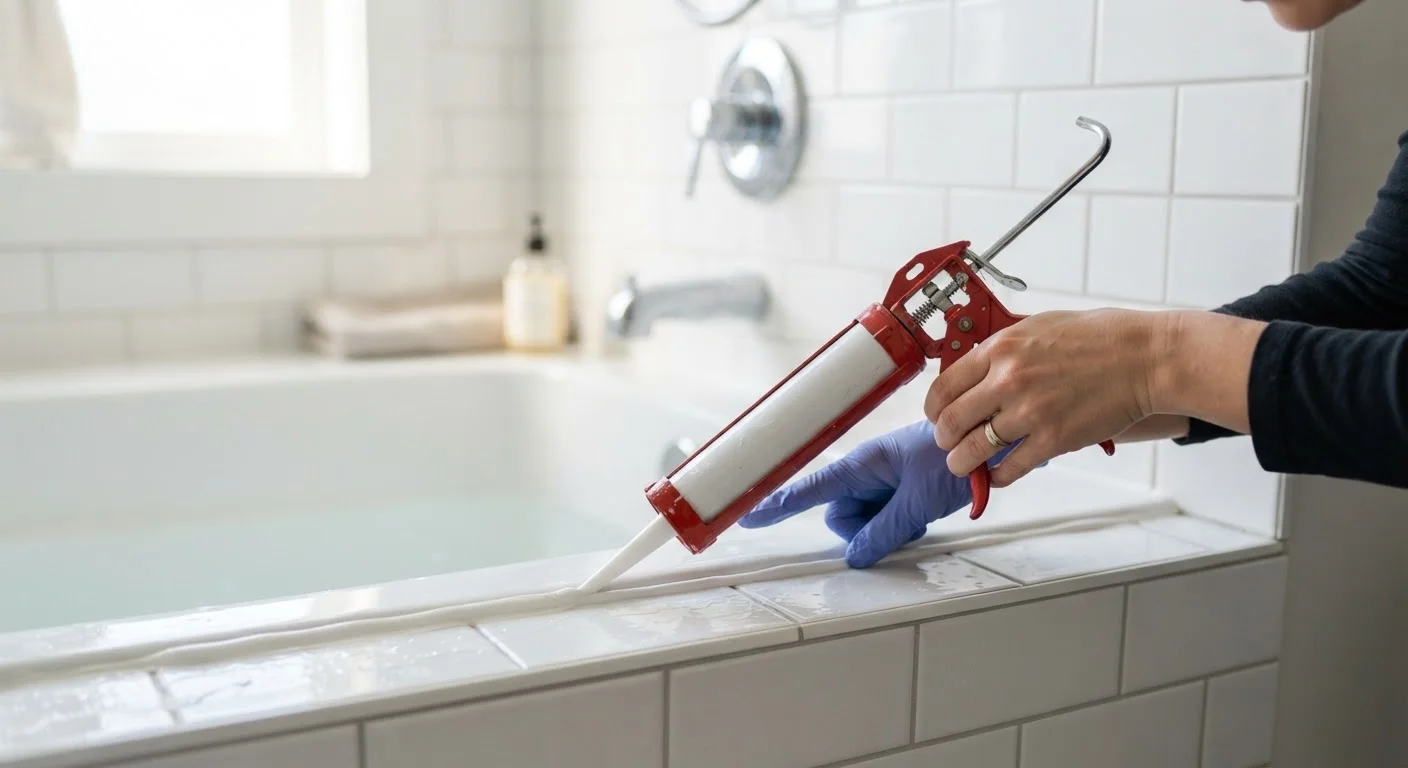
Once you've avoided the common errors, the actual application process is straightforward. Cut the caulk tube nozzle at a 45-degree angle, keeping the opening small - roughly the diameter of the gap you're filling. Hold the gun at a consistent angle and move steadily in one direction, letting the bead build slightly ahead of the nozzle tip rather than dragging behind it.
After laying the bead, tool it immediately using a wet finger or a plastic caulk tool. Wetting your finger with a little dish soap and water prevents the caulk from sticking as you smooth it into a slightly concave profile. This presses the sealant firmly against both surfaces and removes air pockets that cause early cracking.
Don't Rush the Cure Time
Exposing fresh caulk to water before it has fully cured is one of the leading causes of premature failure. Silicone products typically need 24 hours before light exposure and up to 7 days for full cure in bathroom or kitchen conditions. Check the product label for manufacturer guidance, as cure times vary by formulation and humidity level.
After tooling, resist the urge to test the seal right away. Most silicone caulks require 24 hours to skin over and up to 7 days to fully cure, depending on humidity and temperature. Water exposure before full cure is a leading cause of adhesion failure. For bathrooms and kitchens, plan the job when the area can stay dry overnight at minimum.
For related wet-area guidance, our article on keeping tiled wet areas watertight covers what to inspect alongside caulk joints, and our plain-language sealant reference explains how different sealant products compare.
The content provided on our blog site traverses numerous categories, offering readers valuable and practical information. Readers can use the editorial team’s research and data to gain more insights into their topics of interest. However, they are requested not to treat the articles as conclusive. The website team cannot be held responsible for differences in data or inaccuracies found across other platforms. Please also note that the site might also miss out on various schemes and offers available that the readers may find more beneficial than the ones we cover.