

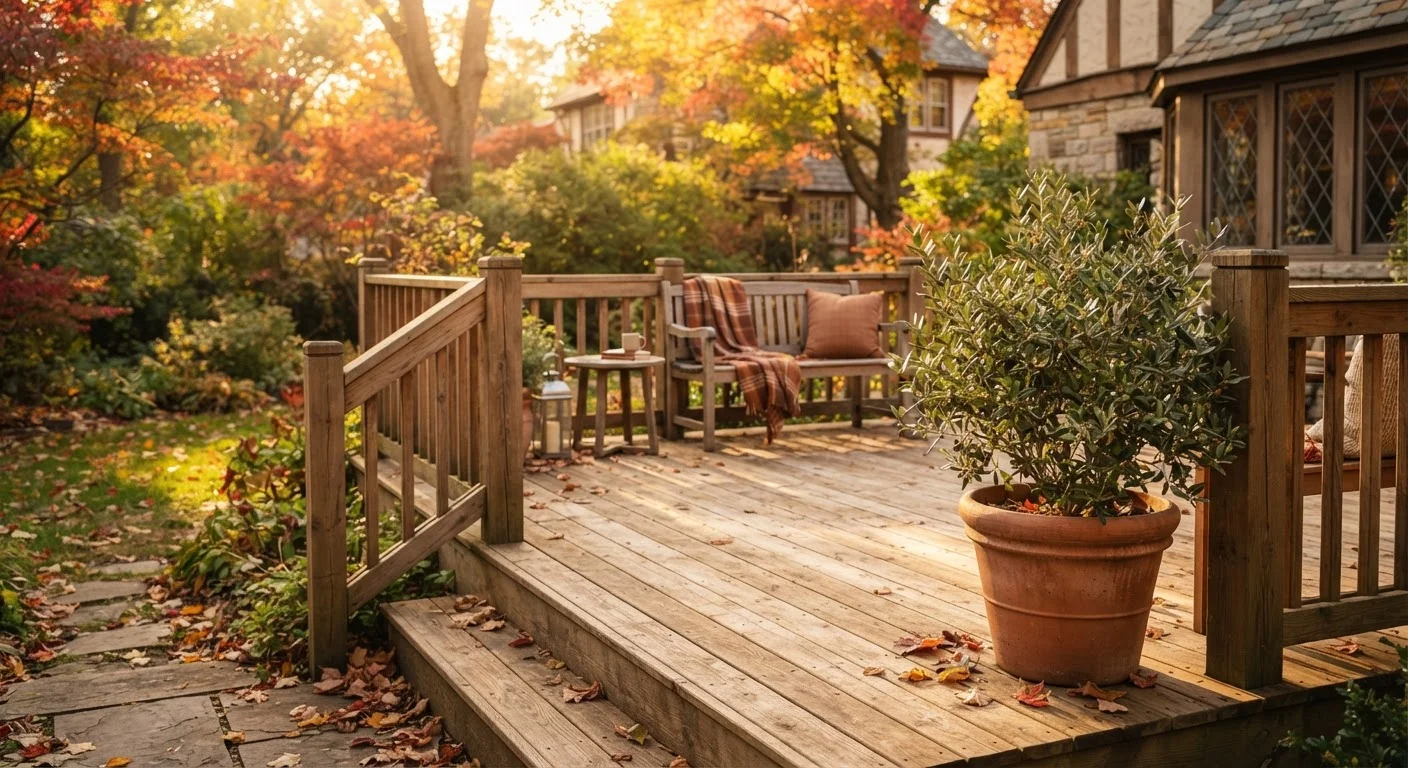
Why Seasonal Deck Maintenance Matters
A wood deck is one of the most weather-exposed parts of your home. Summer UV rays break down surface finishes, rain and humidity drive moisture into the grain, and freeze-thaw cycles cause wood fibers to expand and contract - eventually cracking boards and loosening fasteners. Without routine care, what starts as surface wear can progress to rot in the structural framing below.
The good news: most of the work is straightforward and fits naturally into a broader home care routine. If you already use a checklist like the one in our Seasonal Home Maintenance Checklist for US Families, adding deck tasks to each season keeps nothing off your radar.
What you will need
What You'll Need
Gather these materials before you begin - having everything on hand prevents mid-task delays and ensures you can complete each step properly.
Stiff-bristle deck brush
Scrubs away dirt, mildew, and debris from board surfaces without damaging the grain.
Garden hose with spray nozzle
Rinses cleaning solution and loose debris from deck boards and between gaps.
Deck cleaner or mild wood wash solution
Removes mildew, graying oxidation, and built-up grime before resealing.
Wood sealant, stain, or water repellent
Penetrates wood fibers to protect against moisture, UV rays, and surface cracking.
Paintbrush, roller, or pump sprayer
Applies sealant or stain evenly across board surfaces and into gaps.
Awl or flat-head screwdriver
Probes wood at posts and joists to check for soft spots indicating rot.
Hammer and deck screws or nails
Re-secures any boards or fasteners that have lifted or loosened.
Plastic snow shovel (cold-climate households)
Removes snow without gouging or splintering deck board surfaces.
Step-by-Step Seasonal Deck Care
Follow these steps in order. Spring and fall are the highest-priority seasons; summer and winter tasks are lighter but still important. Adjust timing based on your region's climate - homeowners in the Pacific Northwest will face more moisture concerns, while those in the Southwest should prioritize UV protection.
Spring: Inspect the structure thoroughly
After winter, do a full walkthrough before placing furniture or using the deck. Get down and look beneath the deck at posts, beams, and joists. Use an awl or screwdriver to probe the wood - firm resistance is healthy; easy penetration indicates rot. Check the ledger board where the deck meets the house for signs of moisture intrusion or separation. Walk every board, noting any that flex excessively, have lifted nails, or show deep checking (lengthwise cracks).
Spring: Clean the deck surface
Sweep away all debris including leaves, dirt, and seeds lodged between boards. Apply a deck cleaner or mild wood wash following product directions, then scrub with a stiff-bristle brush working with the grain. Rinse thoroughly with a garden hose. Allow the deck to dry completely - typically 48 to 72 hours depending on humidity - before applying any finish.
Spring: Re-secure fasteners and replace damaged boards
Once the deck is clean and dry, address any loose nails by setting them below the surface with a nail set, or replace them with deck screws for a more secure hold. Replace any boards that are deeply cracked, severely warped, or show surface rot. Sand rough areas with 60- to 80-grit sandpaper to prevent splinters.
Spring: Apply sealant or stain
With a clean, dry, repaired surface, apply a wood sealant, penetrating stain, or water repellent using a brush, roller, or pump sprayer. Work with the grain and apply in thin, even coats. Penetrating finishes generally outperform surface-film coatings on horizontal surfaces because they don't peel. Allow full cure time before placing furniture - check the product label, but plan for at least 24-48 hours.
Summer: Light maintenance and monitoring
Summer tasks are lighter. Sweep regularly to prevent debris buildup in board gaps, which traps moisture. Rinse off bird droppings, food spills, and plant debris promptly - these can stain and accelerate surface degradation. Check that potted plants have drainage trays so standing water doesn't sit directly on boards.
Fall: Prep the deck for winter
Before temperatures drop, clear all debris, clean the surface again as you did in spring, and assess whether the sealant needs refreshing after a full summer of sun exposure. Store or cover outdoor furniture to reduce weight and moisture load on boards. If you live in a freeze-prone region, ensure water drains freely from between boards and that nothing is blocking drainage at the ledger end.
Winter: Manage snow and ice safely
In cold-climate regions, remove heavy snow accumulation with a plastic shovel - metal blades can gouge wood. Shovel with the grain, not across boards. Avoid rock salt or calcium chloride ice melters on wood decks; they accelerate moisture absorption and surface degradation. Sand or kitty litter provide traction without chemical damage.
Schedule Deck Days on Your Calendar
Deck maintenance is easy to postpone until visible damage has already set in. Block out two dedicated days per year - one in mid-spring after frost risk passes and one in early fall before temperatures drop. Treating these as fixed household appointments, the way you'd schedule a furnace filter change, makes consistent care realistic for busy families. You can find a full framework in our home annual maintenance calendar.
What to Watch for and When to Call a Pro
Some deck problems are safe to address yourself - a popped nail, a split board, or a stain that needs refreshing. Others are structural and require a licensed contractor. If you find soft, spongy wood when probing with a screwdriver at the base of posts or along the ledger board (the beam where the deck attaches to the house), stop and call a professional. Rot in load-bearing framing is a safety issue, not a cosmetic one.
Structural Deck Repairs Require a Licensed Professional
Work involving the ledger board, posts, or main beams is not a DIY task. These elements carry the load of the entire deck and anyone on it. In most US jurisdictions, structural deck repairs also require a permit and inspection. Contact your local building department to understand what's required before any structural work begins, and hire a licensed contractor for the job.
Pressure washing is another area where technique matters more than power. Our companion guide on pressure washing myths for decks and siding explains why high PSI can damage wood grain and what settings actually work. For a full picture of all the home upkeep tasks that compete for your attention each month, see Your Home's Annual Maintenance Calendar.
Pressure Washing Can Damage Wood if Done Incorrectly
High-pressure settings fray and erode wood fibers, leaving a fuzzy, weakened surface that absorbs moisture more readily. If you choose to pressure wash, use a wide-angle tip and keep PSI under 1,200-1,500 for most softwoods. Our guide on pressure washing myths for decks covers common mistakes and how to avoid them.
The content provided on our blog site traverses numerous categories, offering readers valuable and practical information. Readers can use the editorial team’s research and data to gain more insights into their topics of interest. However, they are requested not to treat the articles as conclusive. The website team cannot be held responsible for differences in data or inaccuracies found across other platforms. Please also note that the site might also miss out on various schemes and offers available that the readers may find more beneficial than the ones we cover.