

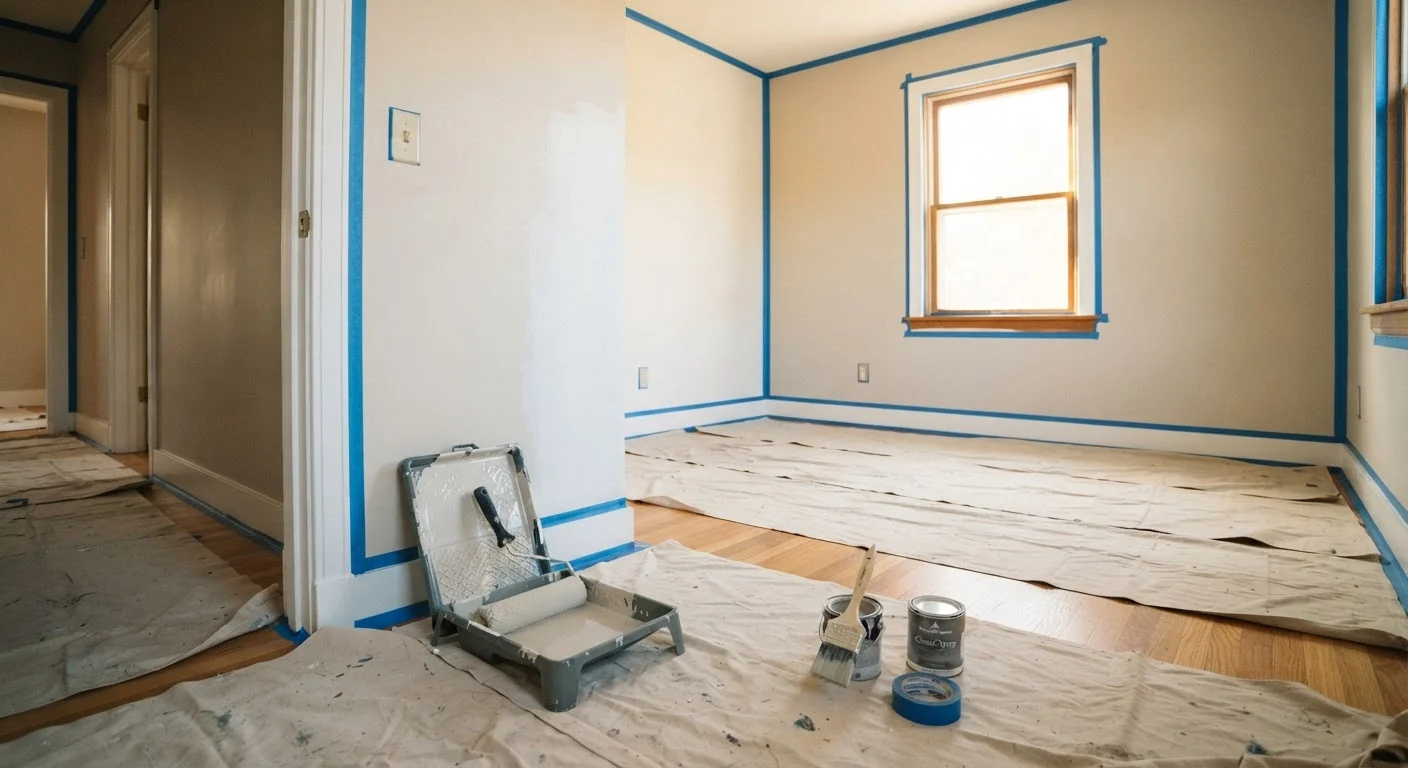
Why Preparation Is the Whole Game
Most DIYers spend the majority of their project time painting and the least amount of time preparing. Professional painters reverse that ratio - and it shows. A wall covered in grease, dust, or minor cracks will telegraph every flaw through even a high-quality finish coat.
Start by washing walls with a mild detergent solution or a TSP-substitute cleaner, rinsing thoroughly, and allowing them to dry completely. Kitchens and bathrooms accumulate grease and moisture that prevent paint from bonding. After cleaning, inspect every surface for nail holes, hairline cracks, and dents. Fill these with lightweight spackling compound, allow it to dry fully, then sand smooth with 120-grit sandpaper until the repair is flush with the surrounding wall. For larger holes, see our full drywall patching guide before you pick up a brush.
Finally, sand any glossy areas lightly so the new paint has tooth to grip. Wipe sanding dust away with a barely damp cloth, then let the wall dry before moving on.
The Practices That Set Professional Results Apart
Once prep is complete, professional painters follow a consistent sequence that DIYers frequently shortcut. Below are the core practices - along with the reasoning behind each - that produce finishes built to last.
Always prime before applying finish coats on patched, stained, or bare drywall areas.
Unprimed patches absorb paint unevenly, creating dull spots called 'flashing' that remain visible under any sheen. Primer also seals stains so they don't bleed through finish coats - something a second coat of paint alone won't fix.
Cut in edges first with a brush, then roll the field while the cut-in edge is still wet.
When cut-in paint dries before the roller reaches it, the overlap leaves a visible line or ridge called a 'lap mark.' Rolling into a wet edge blends the two applications seamlessly.
Back-roll immediately after loading the wall with a roller.
Back-rolling - rolling over a freshly applied section in the opposite direction before it begins to set - levels stipple texture and eliminates built-up ridges at roller edges, producing a uniform surface.
Allow each coat to dry fully before applying the next one.
Recoating too soon traps moisture in the film, leading to bubbling, poor adhesion, and a finish that peels prematurely. Drying time varies by paint type, humidity, and ventilation - check the manufacturer's guidance rather than guessing.
Use painter's tape strategically, and remove it at the right time.
Leaving tape on too long - especially in warm rooms - causes the adhesive to bond to the finish and pull it off when removed. Removing tape while the paint is still slightly tacky (not fully cured) produces the cleanest edge.
Quick Wins You Can Apply This Weekend
Not every improvement requires a full room repaint. Several of the habits below can be applied the next time you touch up a wall or roll a fresh coat in a single room. Small shifts in approach compound into noticeably better results.
For a broader look at when a painting project is worth tackling yourself versus when to bring in help, the DIY vs. hiring a pro framework offers a practical decision process. And if your project is part of a larger kitchen update, planning a kitchen refresh can help you sequence improvements efficiently.
Keep a Wet Edge at All Times
The single most effective habit to prevent lap marks is maintaining a wet edge as you work. Paint in sections from ceiling to floor without stopping mid-wall, and always blend back into the previous section before it dries. In large rooms, work in manageable panels - roughly 3 to 4 feet wide - so you can always reach the wet edge before it skins over.
Choosing the Right Sheen and Avoiding Common Mistakes
Paint sheen is not a cosmetic choice - it determines how a surface holds up to cleaning and moisture. Flat or matte finishes hide surface imperfections but scuff easily, making them best for low-traffic areas like adult bedrooms or ceilings. Eggshell and satin finishes balance a soft appearance with washability, and are the workhorses of living rooms, hallways, and children's rooms. Semi-gloss is standard for trim, doors, and bathrooms because it resists moisture and cleans without damage.
A frequent DIY mistake is applying the same sheen everywhere for convenience. Painting a bathroom ceiling flat, for instance, invites moisture absorption and eventual peeling - the kind of hidden cost that adds up, as our article on hidden costs of DIY home improvement explores in depth.
Another overlooked issue is failing to caulk gaps between trim and wall before painting. A thin bead of paintable acrylic caulk along these joints creates a sealed, sharp edge that looks professional and prevents future peeling. For details on making that caulk last, see why caulking fails and how to fix it. For a broader overview of home upkeep, the Home Maintenance hub is a useful ongoing reference.
Ventilation Matters During and After Painting
Even low-VOC interior paints release fumes that can irritate airways, particularly in enclosed spaces. Keep windows open and use a fan to circulate air during painting and for several hours afterward. Individuals with asthma, allergies, or respiratory sensitivities should limit time in freshly painted rooms until the odor dissipates fully - typically 24 to 48 hours with adequate ventilation.
The content provided on our blog site traverses numerous categories, offering readers valuable and practical information. Readers can use the editorial team’s research and data to gain more insights into their topics of interest. However, they are requested not to treat the articles as conclusive. The website team cannot be held responsible for differences in data or inaccuracies found across other platforms. Please also note that the site might also miss out on various schemes and offers available that the readers may find more beneficial than the ones we cover.