

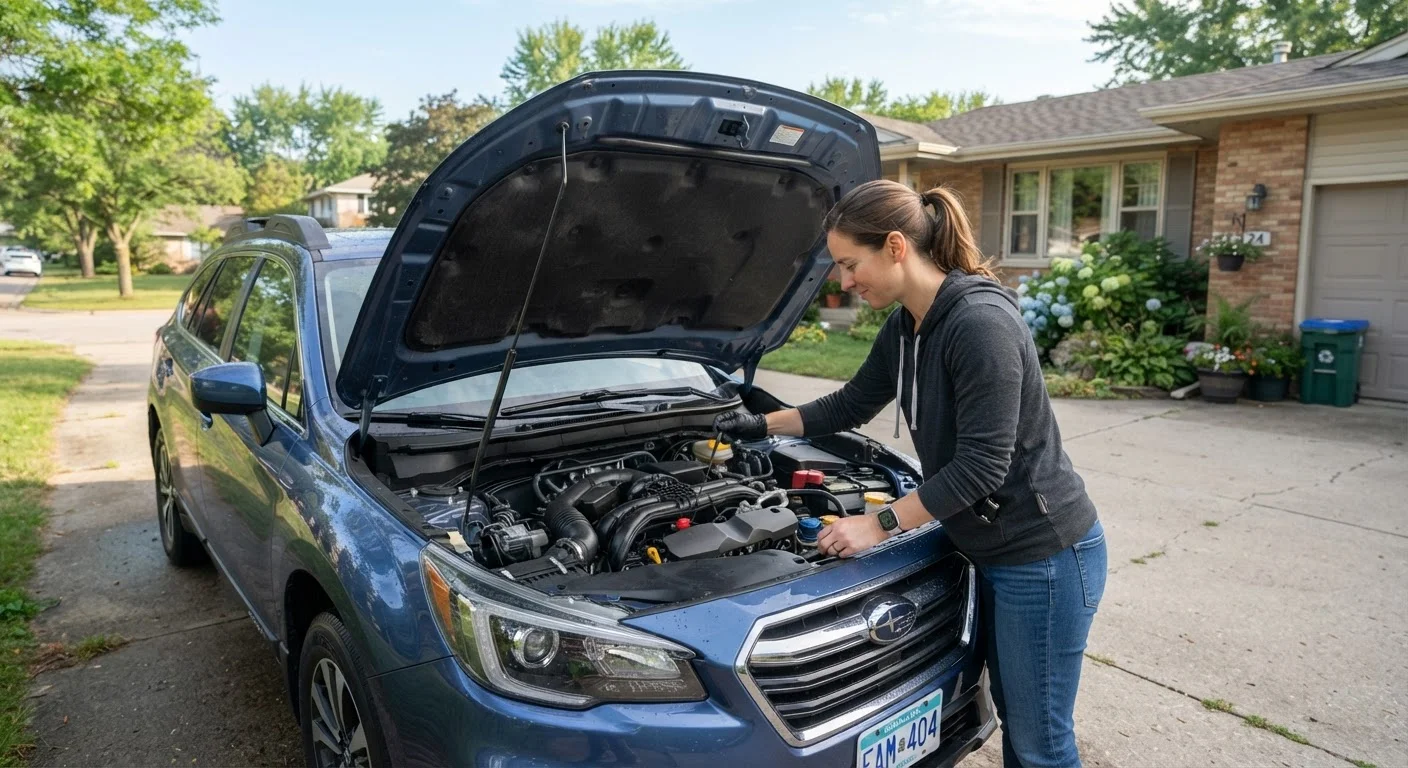
Why Fluid Checks Matter Before a Highway Drive
Most fluid-related breakdowns don't announce themselves with dramatic warning lights - they build quietly over weeks until the stress of sustained highway speeds tips a marginal situation into a serious one. A two-hour city commute can mask a slow coolant leak that an eight-hour drive will expose in the worst possible way: overheating in the middle of nowhere, far from any service station.
Checking your own fluids is one of the most genuinely empowering maintenance tasks a driver can take on. It requires no mechanical training, no special equipment beyond a clean rag, and about 15 minutes. Families who do this regularly catch problems early - and avoid the financial and logistical disruption of a roadside breakdown. For context on where fluid checks fit within a broader departure checklist, see our family road trip safety walkthrough.
If you drive a high-mileage vehicle, fluid checks deserve even more attention - older seals and gaskets are more prone to leaks. Our guide to maintaining high-mileage vehicles covers what shifts in your routine as the odometer climbs.
What you will need
What You'll Need
No tools required beyond what's listed below. Gather these before opening the hood so the process is smooth and uninterrupted.
Owner's Manual
Identifies the correct fluid types, reservoir locations, and acceptable level ranges for your specific vehicle.
Clean Rags or Paper Towels
Used to wipe dipsticks clean before taking accurate readings and to clean up any spills.
Flashlight
Helps illuminate dark engine bay areas so you can clearly see reservoir markings and fluid color.
Funnel
Allows you to add fluid to narrow reservoir openings cleanly without spilling onto engine components.
The Seven-Step Fluid Check
Work through each fluid in order. The sequence below moves logically around a typical engine bay and covers the fluids most likely to affect your safety and vehicle reliability on a long drive.
Park on a level surface and let the engine cool
Pull the car onto a flat, level driveway or parking lot and turn off the engine. For most fluid checks, wait at least 10 minutes after the engine has been running - or check first thing in the morning before the car has been driven. A level surface ensures fluid sits correctly in each reservoir, giving you an accurate reading.
Check the engine oil
Pull out the oil dipstick (usually marked with a bright handle - yellow or orange), wipe it clean with a rag, re-insert it fully, and pull it out again. The oil level should fall between the two marks on the dipstick. Also look at the oil's color: healthy oil is amber to light brown. Very dark or gritty oil may indicate it's overdue for a change.
Check the coolant (antifreeze) level
Locate the coolant reservoir - a translucent plastic tank, usually near the radiator. You can read the level through the tank wall; it should sit between the MIN and MAX lines marked on the outside. Healthy coolant is typically green, orange, or pink, depending on the type. If the reservoir looks empty or the fluid appears rusty or murky, consult a mechanic before driving a long distance.
Check the brake fluid
The brake fluid reservoir is typically located on top of the master cylinder near the firewall on the driver's side. The reservoir is usually translucent, so you can check the level visually against the MIN/MAX markings without opening it. Brake fluid should appear clear to slightly yellow. A dark, almost black color can indicate the fluid is saturated with moisture and may need to be replaced by a mechanic.
Check the power steering fluid (if applicable)
Many newer vehicles use electric power steering, which has no fluid. If your car has a hydraulic system, locate the power steering reservoir (check your owner's manual for its location) and verify the level is between the MIN and MAX marks. Like brake fluid, a sudden drop here signals a possible leak rather than routine consumption.
Check the transmission fluid (for automatic transmissions)
Some vehicles have a transmission dipstick similar to the oil dipstick; others have sealed transmissions that require a lift and professional check. If your vehicle has a dipstick, the process mirrors the engine oil check - wipe, re-insert, read. Transmission fluid should be pink to reddish and clear. A brown color or burnt smell suggests the fluid may be degraded. If you're unsure whether your vehicle has a dipstick or a sealed unit, check the owner's manual.
Top off the windshield washer fluid
The washer fluid reservoir is marked with a windshield icon and is typically easy to locate. This is the one fluid you can freely add without mechanical risk. Use pre-mixed washer fluid rated for your climate - in cold regions, a freeze-resistant formula helps prevent the line from icing. Do not substitute plain water, which can freeze in winter and doesn't clean as effectively.
When to Stop and See a Mechanic First
If any fluid appears severely low with no obvious explanation, looks contaminated (milky, foamy, or full of particles), or if you notice a fresh puddle under the car, do not simply top it off and leave. These signs can indicate a leak or internal issue that topping off won't fix - and that can worsen significantly over hundreds of highway miles. Have the vehicle inspected before your trip.
Knowing When a Job Goes Beyond DIY
Fluid checks are solidly within what any motivated driver can handle confidently. But interpreting what you find - a cloudy coolant, a brake fluid level that's dropped - sometimes calls for professional eyes. Knowing where the DIY line sits keeps you empowered without taking on risk that belongs in a shop.
Likewise, if a warning light appears on your dash in the days before a trip, don't ignore it hoping it resolves on its own. Our plain-language reference to dashboard warning lights explains what each light means and how urgently it needs attention.
Make Fluid Checks a Pre-Trip Ritual
Building a 15-minute fluid check into your departure routine - ideally the evening before you leave - means you have time to address any issue without delaying your trip. Pair it with the tire pressure check covered in our family pre-trip safety walkthrough for a thorough departure routine.
This article is for general informational purposes only. Specific vehicle configurations, fluid types, and maintenance intervals vary by make, model, and year. Always consult your owner's manual and, when in doubt, a qualified mechanic before operating your vehicle.
The content provided on our blog site traverses numerous categories, offering readers valuable and practical information. Readers can use the editorial team’s research and data to gain more insights into their topics of interest. However, they are requested not to treat the articles as conclusive. The website team cannot be held responsible for differences in data or inaccuracies found across other platforms. Please also note that the site might also miss out on various schemes and offers available that the readers may find more beneficial than the ones we cover.